Essential Tips for Effective Vein Cut Travertine Restoration
- Identifying the distinctive linear wear patterns of vein cut travertine is crucial, as these natural markings contribute to dullness, streaking, and pitting that correspond with the stone’s internal structure rather than appearing randomly distributed.
- Analyzing the various causes of surface issues—such as soiling, etching, insufficiently maintained sealers, and hidden voids—is vital for crafting a customized restoration strategy, underscoring the importance of accurate diagnosis.
- Implementing professional deep cleaning methods effectively eliminates trapped soil from pits and grout lines that conventional mopping fails to reach, unveiling the stone’s authentic beauty and potential.
- Utilizing gentle refinement techniques and appropriate fillers enables safe restoration of the surface, increasing clarity while avoiding the introduction of new voids or jeopardizing the stone’s structural soundness.
- Using breathable impregnating sealers safeguards the stone while preserving its natural look, contributing to a cleaner floor over time and easing routine cleaning efforts.
Understanding the Natural Wear Patterns of Vein Cut Travertine Over Time
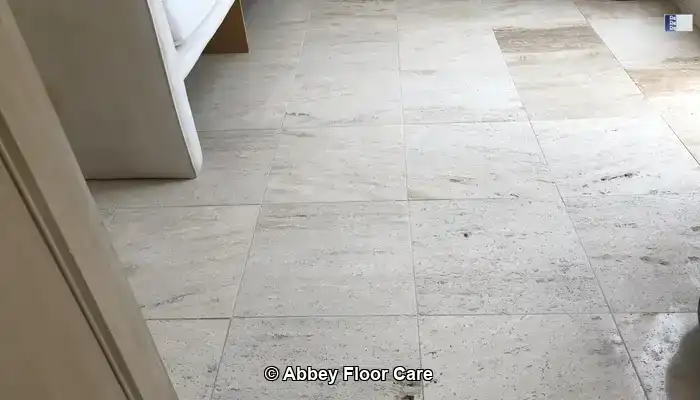
Why Does This Beautiful Stone Become Fragile With Use?
Vein cut travertine is expertly sliced along its natural layers established by ancient mineral springs, showcasing stunning long, linear bands and parallel voids within the tile. These voids, located beneath a delicate surface layer, initially give the stone a remarkably clean and uniform appearance. However, as this top layer wears down over time, the stone becomes increasingly vulnerable to damage. Recognizing this unique structure clarifies why the surface can develop narrow pits, dull streaks, or lines of weakness, necessitating careful restoration practices aimed at preserving its enduring beauty.
Recommendations from Experts: Top Products for Daily Travertine Care
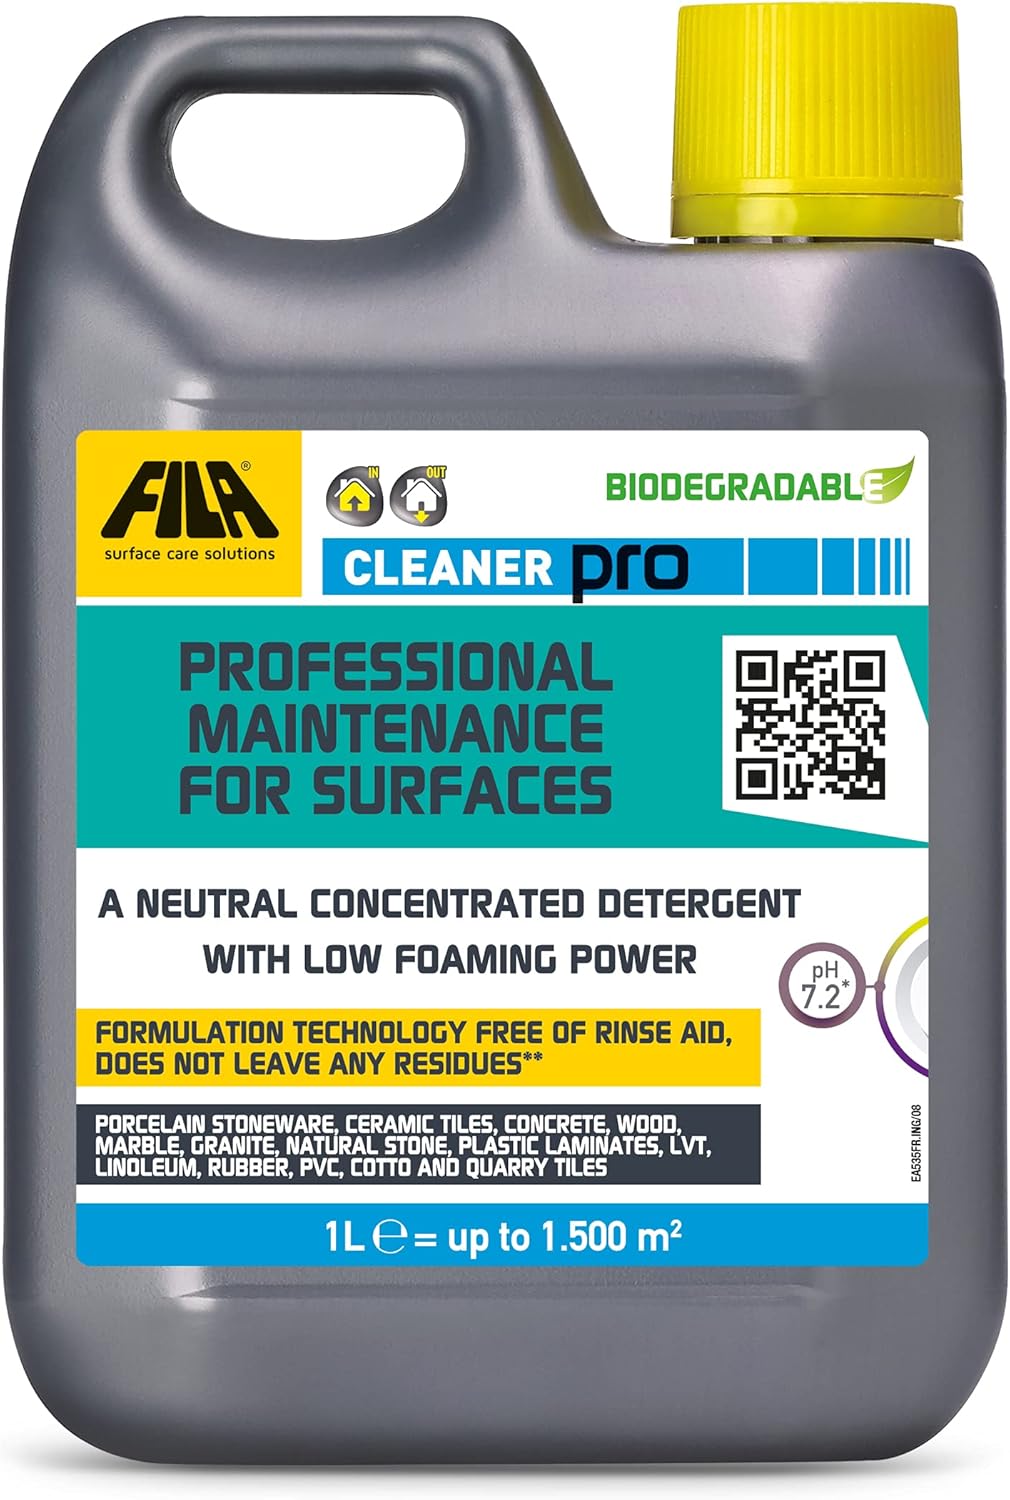
Fila Pro Floor Cleaner
|
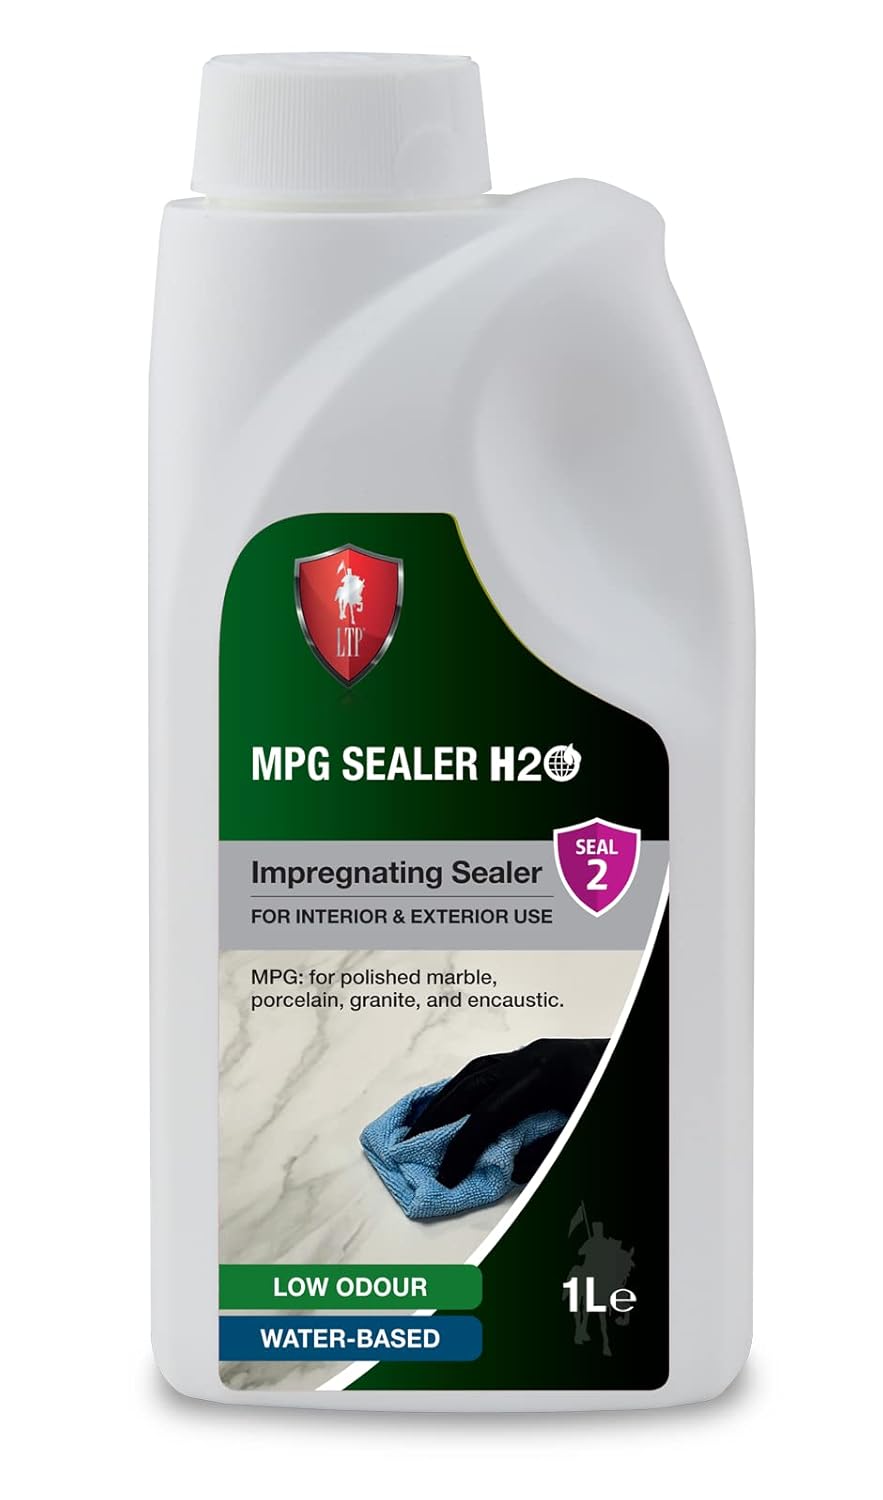
LTP MPG Sealer H20
|
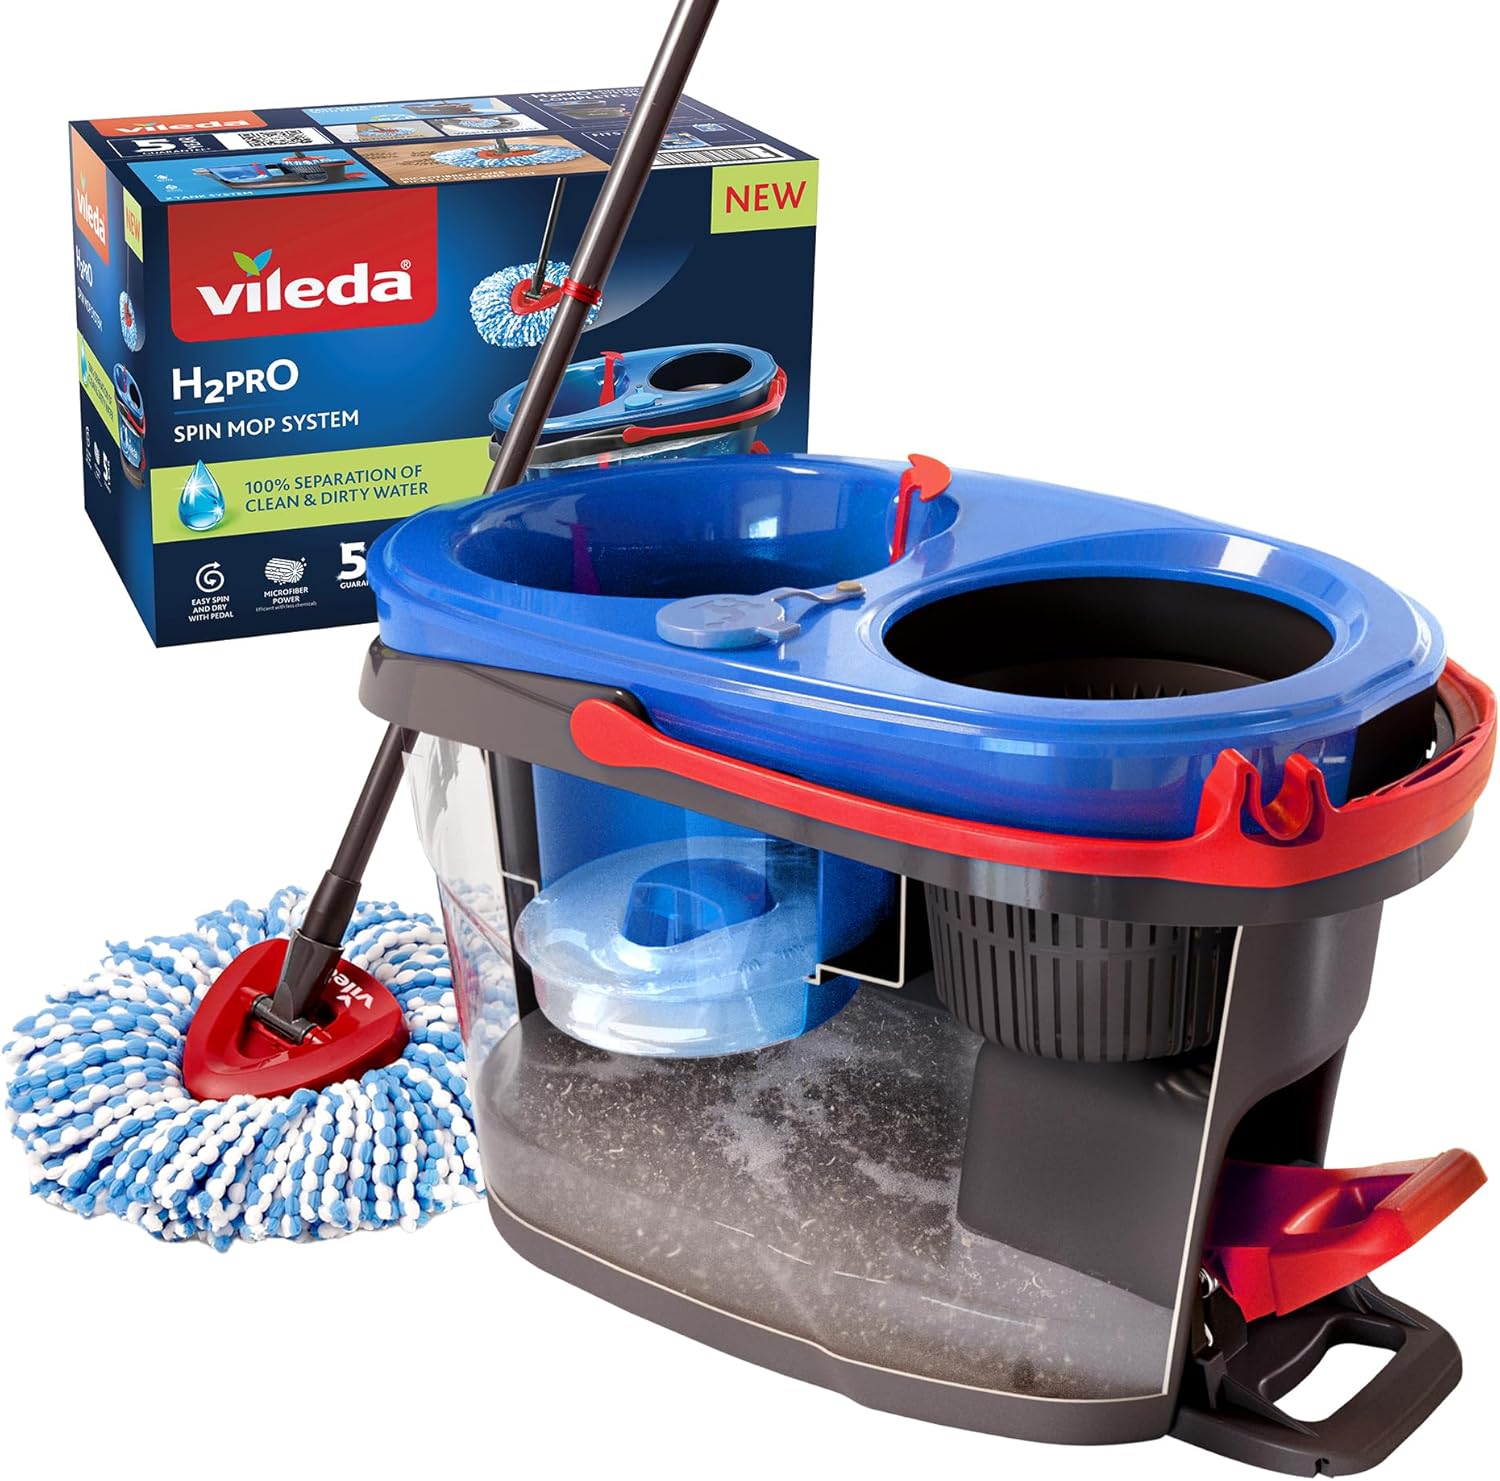
Vileda H2PrO Spin Mop System
|
How Do Hidden Cavities Contribute to Pitting and Visible Wear?
This stone behaves similarly to a Crunchie bar: it has a firm outer crust that conceals hidden pockets underneath. As foot traffic, harsh cleaning agents, or abrasive pads compromise the surface, the coverings of these pockets can break away, leading to the formation of long, narrow pits. These pits often align with the natural veins of the stone, appearing in consistent lines. Once exposed, they readily trap soil, making the floor appear dirty regardless of how often it is cleaned, underscoring the critical need for timely maintenance.
Why Do Streaks and Bands Define Surface Wear?
The orientation of voids within the stone dictates that surface wear typically presents as streaks or soft bands, rather than random markings. These specific areas tend to lose their protective sealer more quickly, absorb more soil, and dull faster than the surrounding tiles. Additionally, light scratches follow this directional pattern, rendering them more noticeable. Understanding these behavioral characteristics allows for targeted and gentle restoration efforts, thereby protecting the stone while enhancing its clarity and preserving its inherent elegance.
Identifying the Indicators of Travertine Deterioration

What Does Dullness Indicate for Your Floor?
When a vein-cut travertine floor starts to appear flat or lifeless, it is rarely due solely to dirt accumulation. Typically, the delicate protective sealer has worn away, allowing fine scratches to accumulate across the surface. These tiny abrasions scatter light, creating a grey, lacklustre appearance—even after thorough cleaning. This condition suggests that the surface requires controlled refinement rather than the application of harsher cleaning agents, which could exacerbate damage to the stone.
Why Do Pits and Dark Spots Continue to Emerge?
Small pits and dark specks arise when the fragile coverings over internal voids deteriorate. In vein cut travertine, these pits often form in orderly lines. Once exposed, they tend to fill with soil, making them challenging to remove with standard cleaning products. The emergence of new pits does not signify a defect in the stone; rather, it reflects the stone’s natural structure and emphasizes the need for gentle filling and resealing to maintain its integrity.
What Do Dark Grout Lines Indicate?
Travertine frequently exhibits noticeable darkening around grout joints and at the edges of slightly raised tiles. These areas tend to trap dirty mop water, especially where the sealer has worn thin. Over time, the grout absorbs this soil, resulting in an uneven colour across the floor. This symptom highlights the need for a deep purge clean rather than repeated mopping, which may prove ineffective in restoring the floor’s appearance.
Understanding Stains, Etching, and Moisture Marks
Spills from wine, fruit juices, or bathroom products can leave behind light marks or dull patches. These are not stains but rather etching—chemical reactions that roughen the stone’s surface. True stains occur when liquids penetrate through a compromised sealer into deeper cavities. Moisture marks, particularly in bathrooms, indicate that the stone has absorbed water and requires controlled drying prior to any restoration efforts to avert further damage.
How Professionals Diagnose the Underlying Causes of Damage

How Can You Distinguish Between Dirt and Structural Wear or Chemical Damage?
A travertine floor may appear “dirty” for various reasons, with symptoms often overlapping. What seems like grime might actually be pits that have opened and filled with soil, while a dull patch could indicate chemical etching rather than dirt. A thorough assessment can differentiate surface contamination from deeper structural concerns, ensuring the floor receives the appropriate treatment rather than ineffective cleaning attempts that fail to enhance its appearance.
Why Do Hidden Cavities Shape the Restoration Strategy?
Vein cut travertine features long, narrow cavities beneath its surface. While these voids might not be immediately visible, they significantly influence the stone’s response to honing and filling. If the surface is overly refined, new pits may unexpectedly emerge as deeper voids become exposed. By identifying existing weak areas and understanding the orientation of the veins within the tile, the restoration process can be optimized to minimize disruption while enhancing clarity and texture.
How to Detect Old Coatings, Failing Fillers, and Installation Issues Early
Older floors may have been treated with acrylic polishes or waxes that trap soil and discolor over time. These must be thoroughly stripped before any restoration efforts commence. Additionally, resin fillers can fail, becoming discolored or dislodged where the stone has shifted or if the original installation was of poor quality. Early detection of issues such as hollow tiles, loose bedding, or subpar grout work is essential to formulate a restoration plan that addresses these limitations, preventing unforeseen complications later.
Revitalizing Travertine with Professional Deep Cleaning Techniques
The Safest Cleaning Products for Protecting Your Stone Surfaces
Travertine requires specially formulated cleaning solutions that effectively lift soil without compromising the stone’s delicate surface. High-alkaline products are utilized to break down greasy residues, while specialized stripping agents remove old coatings and waxes that may accumulate over time. In bathrooms, mold removers are crucial for eliminating biological growth. Avoid acidic or harsh supermarket cleaners, as they can react with the stone, leaving pale etched marks that are irreversible. Selecting the right cleaning chemistry ensures that the process enhances the surface instead of damaging it.
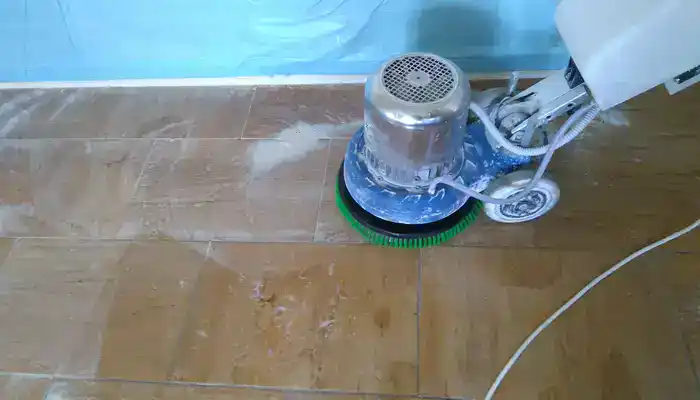
How Do Professionals Extract Soil from Pits Without Causing Damage?
Pits and cavities hold soil tightly, requiring gentle mechanical agitation for effective cleaning. Low-speed machines equipped with nylon or carbide brushes successfully lift dirt from these holes without harming the fragile surface caps. Abrasive pads, particularly green pads, should be avoided as they may expose new pits and deteriorate the stone’s appearance. Handwork is utilized in edges and difficult areas to ensure that every section of the floor receives thorough attention and care, which is vital for optimal results.
Why Is Thorough Rinsing and Extraction a Crucial Step?
Once the soil has been loosened, it must be promptly removed. Multiple rinses with fresh water ensure that the loosened grime does not settle back into pits or grout joints. A wet vacuum is employed to extract the slurry before it dries, preventing streaks and ensuring the stone is genuinely clean. This step is particularly important for travertine, as its porous structure will quickly reabsorb water if not adequately sealed, potentially leading to further issues and deterioration.
Why Is Proper Drying Critical Before Refining or Filling?
Due to its ability to retain moisture within its voids, travertine must be entirely dried before any further work occurs. Areas like bathrooms that are frequently cleaned may require extra drying time. If fillers or sealers are applied while the stone remains damp, they may fail to adhere correctly or could trap moisture, resulting in dark patches later on. An adequately dried surface ensures that subsequent processes—refinement, filling, and sealing—are executed effectively, yielding a durable finish.
How Experts Refine the Surface Without Exposing New Pits
Why a Gentle Approach Is Essential for Protecting the Stone’s Surface
The surface of vein-cut travertine is inherently fragile compared to the underlying voids. Utilizing heavy abrasives or starting with a coarse grit can remove more of this surface than necessary, leading to the exposure of new cavities and the formation of fresh pits. A minimal-abrasion approach safeguards the stone’s natural structure while still improving clarity. By beginning with the finest grit capable of achieving visible improvement, the refinement process focuses solely on areas that truly require attention, helping maintain a smooth and balanced appearance throughout the floor.
How Are Refinement Levels Determined for Each Floor Type?
A typical refinement process might follow a sequence of 400 → 800 → 1500 → 3000 grit; however, not all floors benefit from every stage. Floors with minor wear often respond well to a shortened sequence that avoids unnecessary material removal. Heavily worn areas may necessitate slight refinement, yet each step is executed to preserve as much of the original surface cap as possible. This customized approach ensures that the finish appears consistent without disturbing deeper voids or compromising the stone’s integrity.
How Are Scratches, Etches, and Defects Seamlessly Integrated?
Etching caused by acidic spills and fine scratches from daily use require mechanical refinement. These imperfections cannot be simply cleaned away as they physically alter the surface. Localized honing can eliminate these defects, but it must be meticulously controlled to prevent noticeable contrasts between the repaired area and the surrounding stone. Directional scratches are particularly prominent in vein-cut travertine due to its linear pattern, thus the refinement process must follow the stone’s natural flow to ensure a seamless blend.
Why Spray-Burnishing Often Surpasses Heavy Polishing Techniques
Mechanical polishing is frequently less effective on vein cut travertine because the voids disrupt the uniform contact necessary for achieving a high-gloss finish. Instead, spray-burning with an ultra-fine grit can create a natural-looking sheen without overworking the surface. This method enhances clarity and imparts a fresh, refined appearance while remaining realistic about what the structure can support. The goal is not to obtain a mirror finish but rather a clean, elegant finish that aligns with the stone’s character and aesthetic.
How Filling Enhances Surface Strength and Cleanliness
Why Do Factory Fillers Degrade Over Time?
Travertine is typically supplied with many of its natural voids filled at the factory, often using resin or a color-matched compound. Over time, movement in the subfloor, fluctuations in moisture levels, or simply the passage of time can cause these fillers to loosen or discolor. In vein cut material, these failures often show as long, thin openings instead of round pits. When fillers deteriorate, soil accumulates rapidly, leading to an uneven appearance that is difficult to maintain. Timely identification of failing fillers allows for their replacement before the surrounding stone begins to degrade and lose its appeal.
How to Select the Right Filler for Each Type of Void
Each type of filler serves a specific purpose. Grout fillers excel for shallow pits due to their natural blending with the stone, quick drying time, and stability under normal use. Resin fillers are suitable for deeper voids needing greater strength, although they can darken the surrounding stone if overapplied. Two-part epoxies are reserved for substantial or structural cavities that require a more durable repair. Selecting the appropriate filler ensures that the restored floor appears balanced, feels solid underfoot, and remains easier to clean and maintain over time.
How Colour-Matching Achieves a Seamless, Natural Finish
Effective filler application should render repairs nearly invisible from a standing position. This requires careful colour-matching to the surrounding stone and an understanding of how vein cut patterns flow across each tile. Simply matching the tone is not sufficient; the filler must also harmonize with the directional lines in the stone. Thoughtful blending prevents the eye from being drawn to repairs, resulting in a surface that appears more uniform and visually appealing once the restoration is completed.
Why Might New Voids Emerge During the Restoration Process?
As the stone undergoes gentle refinement, hidden cavities may occasionally open up. This occurrence is normal and reflects the stone’s inherent structure rather than any fault of the homeowner. These new voids can be filled during the same process to maintain a consistent finish. By proceeding cautiously and monitoring each stage, new pits can be managed without adversely affecting the overall appearance of the floor. This careful approach contributes to stabilizing the surface while preserving the stone’s natural character and beauty.
How Sealing Protects and Enhances the Stone’s Appearance
Natural, Breathable Protection for Everyday Living
Standard impregnating sealers penetrate the stone, significantly reducing the amount of moisture and soil the surface can absorb. They do not alter the appearance of the travertine, making them ideal for individuals who prefer a natural matte or honed finish. Remaining breathable, they allow moisture to traverse freely through the stone, minimizing the risk of damp patches developing. For vein-cut travertine, this sealer helps prevent dirt accumulation in newly filled pits and simplifies routine cleaning tasks, ensuring the floor remains visually appealing.
Enhancing Sealers for Richer Colour and Defined Patterns
Enhancing impregnators provide the same protective benefits as standard sealers while also deepening the colour and accentuating the stone’s natural movement. This can enhance the warm tones and linear patterns inherent to vein-cut material, resulting in a richer, more sophisticated appearance. The enhancement is subtle rather than glossy, yielding a refined finish that remains true to the stone’s character. This option is particularly beneficial when the floor appears washed out after a deep clean, revitalizing its aesthetic charm.
When Is a Surface Coating Worth Considering?
Topical coatings sit atop the surface, creating a visible film that can add sheen or enhance resistance in high-traffic areas. They can be useful for older floors requiring additional protection or where a gentle shine is desired. However, these coatings demand more maintenance and may trap soil inside pits if not applied correctly. Given that vein cut travertine possesses long, narrow voids, topical coatings can accentuate imperfections if the underlying surface is not impeccably prepared. They should only be utilized where genuinely beneficial to avoid complications.
How Does Sealer Choice Affect Cleaning and Longevity?
The type of sealer chosen influences how easily the floor remains clean and how frequently maintenance is required. A quality impregnator helps mop water glide across the surface rather than soaking into open cavities, reducing dark patches and streaks. Enhancers add depth while still protecting against stains. Topical coatings, while offering surface protection, necessitate ongoing care to prevent scuffing. Choosing the right sealer ensures that the restored finish endures longer and is easier to maintain, ultimately safeguarding your investment in flooring.
What Results Can You Expect and the Natural Limitations of the Stone?
What Excellent, Good, and Improved Finishes Should Look Like
The results achievable with vein cut travertine depend on the stone’s history, installation quality, and the condition of its surface caps. An “excellent” outcome typically means a clean, refined surface with well-blended fillers and minimal visible pits. A “good” outcome delivers a uniform appearance while still showcasing natural variation, albeit softened. An “improved” result presents a clean, stable surface where historical wear is visible but no longer dominates the overall aesthetic. Understanding these classifications helps set clear, realistic expectations from the outset of the restoration process.
Why Might Pits Reappear Even After Restoration?
Travertine is characterized by its natural cavities, particularly in vein cut material where the voids align in long, narrow bands. As the stone wears, some of these hidden voids may reopen over time. This occurrence does not signify a failure of the restoration process; rather, it reflects the stone’s internal structure. When new pits arise, they can be filled during routine maintenance to maintain a consistent appearance across the floor, ensuring both beauty and functionality.
Why Is Achieving a High-Gloss Finish Challenging?
Achieving a uniform, high-gloss finish on vein cut travertine is difficult due to the internal cavity structure, which inhibits even polishing pressure. While refinement can enhance clarity and introduce a gentle sheen, attaining a mirror-like finish across the entire floor is rarely feasible. The objective is to highlight the stone’s natural beauty rather than exceed what its structure can comfortably support, creating a floor that is both elegant and practical.
When Do Moisture or Installation Issues Restrict the Outcome?
Moisture trapped within the stone, hollow tiles, subfloor movement, or significant lippage can all limit what restoration can achieve. Moisture diminishes the efficacy of sealers, while hollow or unstable tiles may crack or lose filler. Excessive lippage necessitates aggressive grinding, which is rarely appropriate for vein cut travertine as it exposes deeper cavities. Early identification of these issues ensures that the restoration plan respects the stone’s limitations and avoids unnecessary risks while maintaining its aesthetic and functional integrity.
Best Practices for Maintaining the Ideal Appearance of Vein Cut Travertine
Everyday Habits That Safeguard the Stone and Sealer
Consistent, gentle care is vital for protecting both the sealer and the surface caps of travertine. Regular vacuuming removes grit that could scratch the stone, while microfibre mopping lifts everyday soil without forcing moisture into the pits. Using a pH-neutral cleaner preserves the protective sealer without stripping it away. This straightforward routine keeps the floor looking cleaner for longer and mitigates the natural dulling that occurs with regular use, ultimately preserving its beauty.
Why Should Deep Cleaning and Resealing Be Integral to Routine Care?
Over time, small amounts of soil naturally accumulate in pits and grout lines, even with proper daily maintenance. An annual or bi-annual deep clean removes this build-up and restores clarity across the surface. Resealing every three to five years helps prevent staining and keeps moisture out of the cavity network. Regular maintenance minimizes the need for more intensive restoration later and preserves the work already completed, ensuring the floor remains stunning and functional.
What Common Mistakes Can Lead to Premature Wear?
Certain habits can shorten the lifespan of a restored floor. Acidic cleaners lead to etching, steam cleaners force moisture into the voids, and abrasive pads can unnecessarily create new pits. Using supermarket detergents may also leave residues that attract soil, causing the floor to appear dirty more quickly. By avoiding these pitfalls, the stone can maintain its brightness, stability, and ease of cleaning, contributing to its overall longevity.
Simple Tips for Preventing Pits, Dullness, and Stains
Preventing premature wear focuses on protecting the sealer and avoiding harsh treatments. Entry mats reduce grit transfer, while promptly cleaning spills prevents staining. Keeping the surface free from residues and using appropriate cleaners ensures the stone retains its colour and clarity. By adhering to this uncomplicated routine, the restored finish lasts longer, allowing the floor to maintain a serene and elegant appearance that enhances your living space.
Why Expert Restoration of Travertine Is Essential
How a Diagnostic Approach Protects Your Floor
Travertine demands a careful, informed approach due to its delicate structure. A diagnostic assessment identifies the specific issues affecting the floor—whether they relate to soiling, etching, worn sealers, failing fillers, or structural weaknesses. By understanding the stone before work begins, the restoration process minimizes unnecessary abrasion or over-cleaning. This ensures that the procedure strengthens the surface rather than exposing new weaknesses or creating additional pits, leading to a successful restoration.
Why Gentle Techniques Yield Optimal Long-Term Results
The thin surface caps on vein cut travertine mean that overly aggressive honing or unsuitable chemicals can cause permanent harm. Gentle refinement removes just enough material to enhance clarity while preserving the stone’s natural integrity. Using the correct chemistry prevents etching and protects the fillers from degradation. This controlled approach yields results that are both visually appealing and durable, ensuring the floor remains a beautiful feature of your home.
How the Right Fillers Foster a Stable, Attractive Finish
Selecting and applying the appropriate filler is critical for achieving a durable, well-balanced finish. Structural voids necessitate strong, stable materials, while surface pits benefit from colour-matched grout that seamlessly integrates with the stone. A specialist understands how each filler performs and how it interacts with the directional movement of vein cut patterns. This expertise ensures the restored surface feels solid, appears natural, and remains easier to maintain over time, enhancing the overall aesthetic of your flooring.
The Importance of Skilled Restoration for Complex Stone Types
Vein cut travertine responds exceptionally well to expert restoration when handled correctly. A skilled technician knows how to refine the surface, discreetly fill voids, and apply the appropriate sealing system that protects the stone for years to come. The outcome is a cleaner, more tranquil, and elegant floor that integrates seamlessly into the home. Engaging a specialist provides confidence and reassurance, ensuring that the work enhances the stone’s natural beauty without compromising its integrity.
Frequently Asked Questions About Travertine Restoration
How Often Should Vein Cut Travertine Be Professionally Cleaned?
Most floors benefit from a deep clean every one to two years, depending on traffic levels and the effectiveness of daily maintenance. Regular cleaning prevents soil from accumulating in pits and grout lines, reducing the need for more intensive restoration in the future while maintaining the floor’s pristine appearance.
Will New Pits Develop After Restoration?
New pits may emerge over time because they originate from natural voids within the stone rather than solely from surface wear. Restoration stabilizes the visible pits, but hidden voids may open with the passage of time. These can be filled during routine maintenance to maintain a consistent appearance across the floor, ensuring both beauty and functionality.
Can a High-Gloss Finish Be Achieved on Vein Cut Travertine?
A full mirror-like polish is rarely attainable due to the internal cavity structure, which inhibits even polishing pressure. A soft sheen or subtle clarity enhancement is usually achievable, but the result is contingent upon the stone’s condition and installation quality, aiming for a visually appealing finish without compromising the stone’s character.
Do Topical Sealers Simplify Travertine Maintenance?
Topical sealers can be beneficial in some scenarios, but they often necessitate more frequent maintenance and may accentuate imperfections if the surface is not perfectly prepared. For most residential applications, a breathable impregnator offers the best balance of protection and low-maintenance care, ensuring that your travertine remains elegant and functional.
How Long Can a Restored Travertine Floor Maintain Its Appearance?
With proper daily care, periodic deep cleaning, and resealing every three to five years, a restored floor can maintain its appearance for many years. Longevity depends on factors such as traffic levels, cleaning habits, and how well the protective sealer is maintained, contributing to the floor’s lasting beauty and usability.
Final Thoughts on Travertine Restoration
Vein cut travertine possesses a unique beauty derived from its natural linear structure, yet this very structure requires careful treatment to protect both the thin surface caps and the underlying voids. When restored with the optimal balance of cleaning, refinement, and filling, the stone can regain its clarity and colour while preserving its authentic character and charm.
The key to long-term success lies in understanding the stone’s behaviour and selecting methods that work harmoniously with its natural features rather than against them. Gentle honing, precise filler selection, and breathable sealing all play critical roles in maintaining the strength and aesthetic appeal of the floor, ensuring its beauty for years to come.
With an effective care routine in place, a restored vein-cut travertine floor remains cleaner, brighter, and easier to maintain, becoming a reliable and elegant addition to the home that provides both visual warmth and enduring performance.
About the Author
David Allen is a natural stone and tile restoration expert with over 30 years of hands-on experience working in homes throughout the UK. His career has focused on restoring, protecting, and preserving surfaces ranging from delicate Victorian encaustic tiles to high-value marble and limestone installations.
David’s expertise encompasses deep mechanical refinishing, stain and etching correction, diamond abrasive sequencing, breathable sealing systems, and the restoration of intricate heritage flooring. His approach is grounded in practical, real-world problem-solving informed by thousands of completed projects.
Dedicated to providing clear, practical education for homeowners, David emphasizes safe processes, long-term protection, and straightforward maintenance techniques that prevent accidental damage. His calm, knowledgeable communication style instills confidence in homeowners as they learn to understand and care for their stone surfaces.
The article Vein Cut Travertine Restoration: An Expert Guide was first published on https://www.abbeyfloorcare.co.uk
The Article Vein Cut Travertine Restoration: A Comprehensive Guide appeared first on https://fabritec.org
The Article Vein Cut Travertine Restoration Made Easy: A Quick Guide Was Found On https://limitsofstrategy.com